How to stretch fence wire
STAY-TUFF Stretcher Bars are the tools you’re looking for
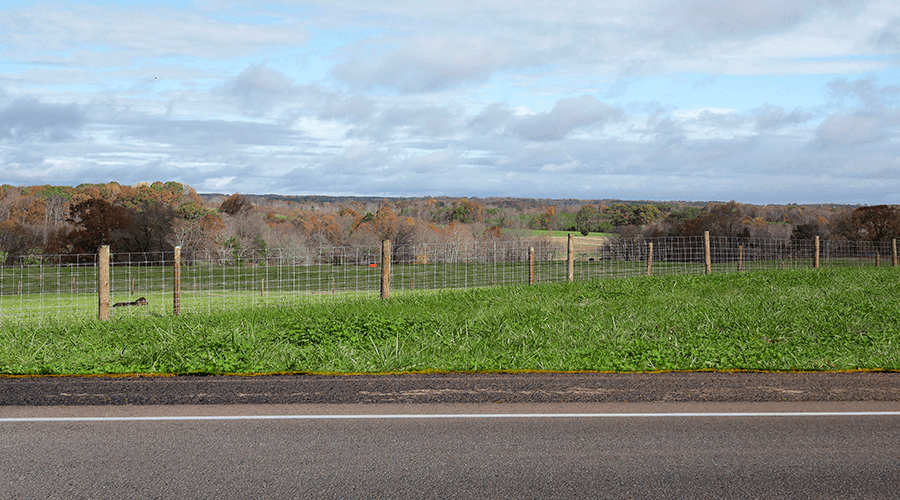
A great fence is an invaluable asset for your property: it keeps animals in, predators out, establishes a boundary and can even be aesthetically pleasing.
STAY-TUFF has different fence solutions available for you, each one of them as exceptional as the last. Designed with you in mind, our fencing solutions are an investment you do not want to skip on.
One of the challenges of installing a fence is stretching the wire.
Doing so (and doing it correctly) will determine the lifespan of your fences. A wire fence that is too tight could be susceptible to damage if impacted by a heavy load and a fence that is not tight enough can sag, thus not performing as it should.
Your stretching problems can be solved with our fence stretcher!
Before getting to stretch the wire fence, however, there’s a few steps you have to take care of. Let’s do a quick recap of the things you should do before stretching your fence:
Plan & make a layout
This one might seem obvious, but it’s the first step! Making sure you measure out your property will determine how much fence wire you’ll need installed.
You can start with a sketch, a measuring wheel, or a GPS tracking app on your phone.
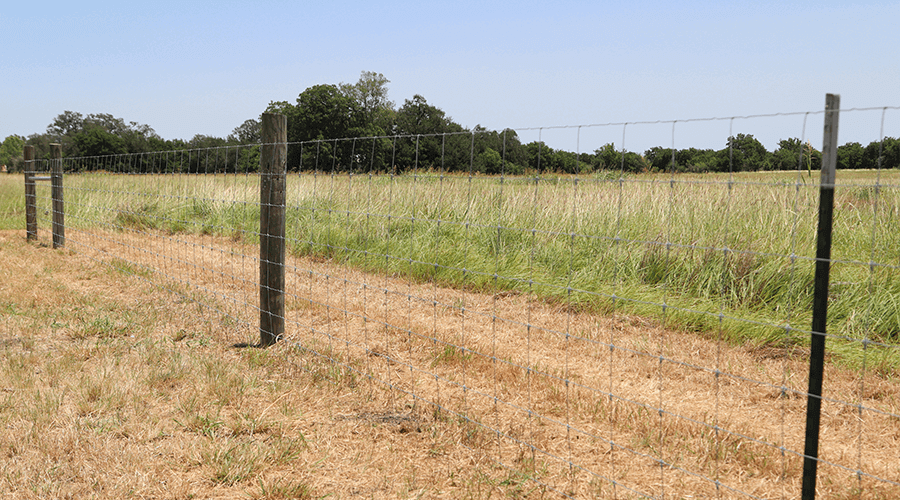
Install your posts
Posts are what give support, structure and stability to your fence.
You can use wooden posts or steel posts, depending on your budget or your preference. Whatever your posts look like, remember to check underground before digging holes to set them to avoid damage to any utility lines.
Different types of posts have a unique reason to be in your fence project:
- Brace posts – They’re designed to support the total weight of the fence
- T posts – Help hold the fence vertically
- Boss posts– Also give support, specially where in uneven ground, where there are humps or dips
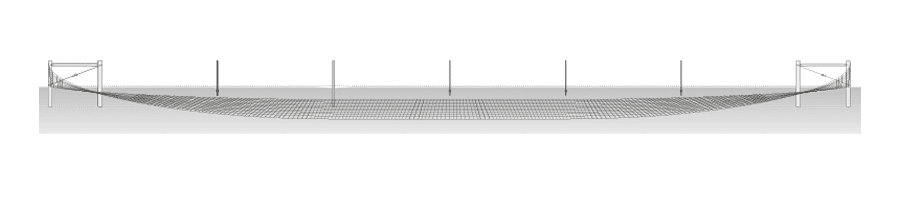
Typically, fence posts are placed just a few feet apart (typically 8-12), but with STAY-TUFF solutions, you can place them even further – up to 20-25 feet!
Optionally, you can use a guide wire, which will help you easily set up the fence line to avoid distorting.
All set? Get your wire and fence stretchers ready!
Now that you have everything ready, let’s look into how exactly you’ll be making your fence wire tight.
- Roll out your fence:
First, you’ll have to unroll the wire you decided on for your project. Be careful and use personal protection equipment, as the wire fence is under tension.
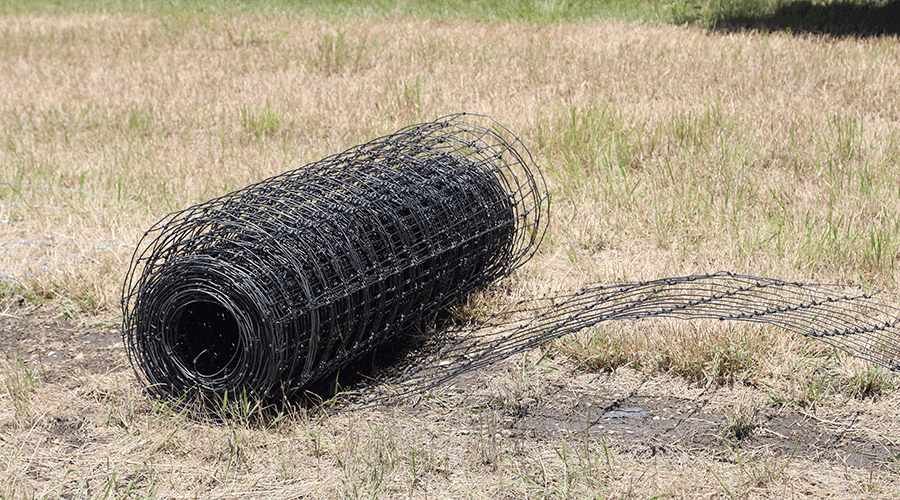
Start the process by rolling out about 50′ of your fence, positioning it near one of your end posts.
TIP
Place a heavy object on the wire fence to prevent it from coiling back on itself
- Strip off stay wires
Sometimes you’ll have to strip the knots off the line wire in order to have enough loose wire to tie. With STAY-TUFF fence, you can skip this step. - Align the fence
Lift the rolled-out portion of your wire towards your end post, and roughly position it where it will be tied off. Use a temporary fence staple for this.
Now align the fence to the End Post, squaring the vertical stay wires with the post. - Tie the fence to the end brace
Tie-off several of the Horizontal Wires in the middle of the Fence to the End Post.
Once this is done, remove the temporary staple. This will allow you to move the Fence Wire up or down the End Post to the desired height off the ground before tying off the remaining wires.
Now, roll out the rest of the fence and repeat on the other end, on the second end post.
Time to stretch!
To stretch your wire fence, it is recommended you have at least two workers for fences under 8’ and three workers for fences 8’ to 10’ high.
Where to place your stretcher bars
Typically, fence stretcher bars are set around the middle of the fence run.
How to install the stretcher bars
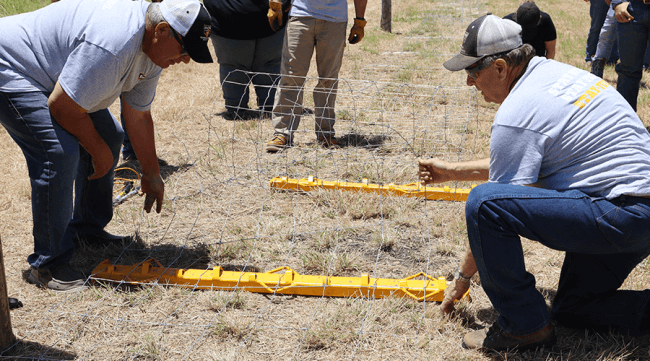
First, position two Stretcher Bars under the fence between 10’ to 19’ apart, depending on the length of the pull.
Reminder
The longer the pull, the further apart you will need to space the stretcher bars. STAY-TUFF Stretcher Bar Pullers come with 19’ of chain to accommodate for this.
Second, align the Stretcher Bars so that they are parallel with and centered between the stay wires.
Position the line wires between the wedge retainers. Ensure that each line wire is held firmly by a wedge so that they will not slip and lose tension.
Next, insert the wedges into the Wedge Retainers on top of the wires and drive each wedge firmly to lock the fence fabric on the Stretcher Bar.
Last, cut the Line wires in the middle between the Stretcher Bars.
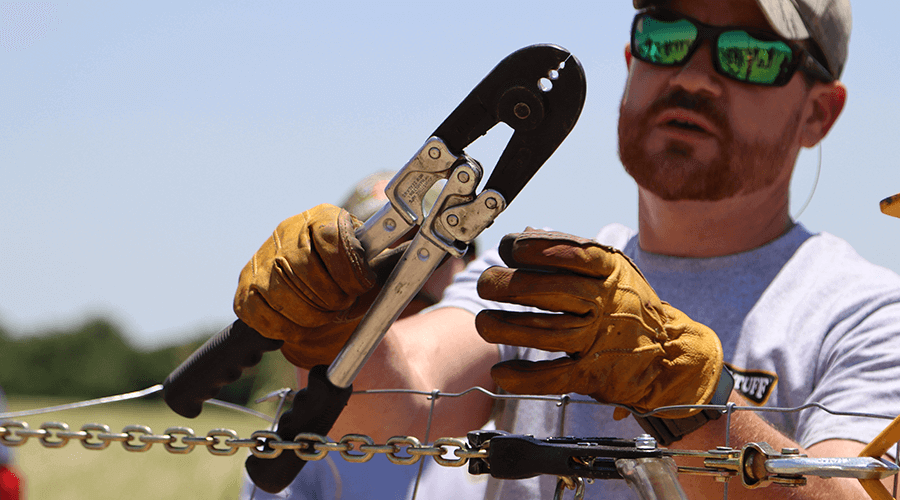
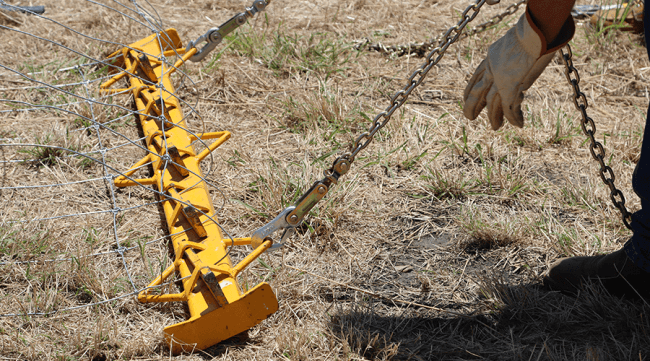
Installing the chains
Attach two Stretcher Bar Puller Chains to one of the Stretcher Bars by clipping the snap clips on the end of the Chains to the top and bottom Pull Lugs on the Stretcher Bar.
Next, extend the chains in parallel to the second Stretcher Bar.
Install the Puller
Clip the snap on the Stretcher Bar Puller to the corresponding Pull Lugs on the second Stretcher Bar. Place the Chain Links closest to the Pullers into the jaws of the Puller.
When the Handle of the Stretcher Bar Puller is cranked, the Puller jaws will “walk” up the chain links, tightening the fence.
Tension the Fence
As you continue to tension the fence, it will be slowly pulled upright.
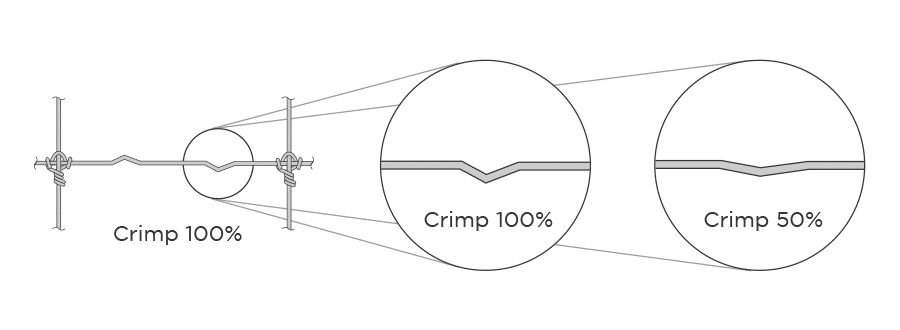
Continue tensioning until approximately 50% of the crimp in the line is removed. Tension can be adjusted to loosen or tighten the fence depending on the needs of your particular application and location.
Finally, stand the fence up completely and tie or staple to line posts as needed to temporarily hold it in place. Next we will splice the cut portions of the fence together with the Stretcher Bars still in place.
Finally, your fence is stretched!
What’s next now?
You’ll need to splice your fence.
After you’re done pulling and stretching your fence, you’ll need to splice it in order to close off the perimeter you’re setting up.
STAY-TUFF has the tools you need to complete your project.
Whether you’re installing, stretching, splicing or maintaining, we have everything you need from start to finish.

Find us near you!
There is an authorized STAY-TUFF dealer near you. We’ll be happy to get you in touch!
Visit https://staytuff.com/store-locator/ to find your nearest store.
Do you need anything else?
We have tools, and a nearly endless catalog of fence wires & solutions for you. Visit our websites to find panels, fences, barbed wire, electrical wire and much more.